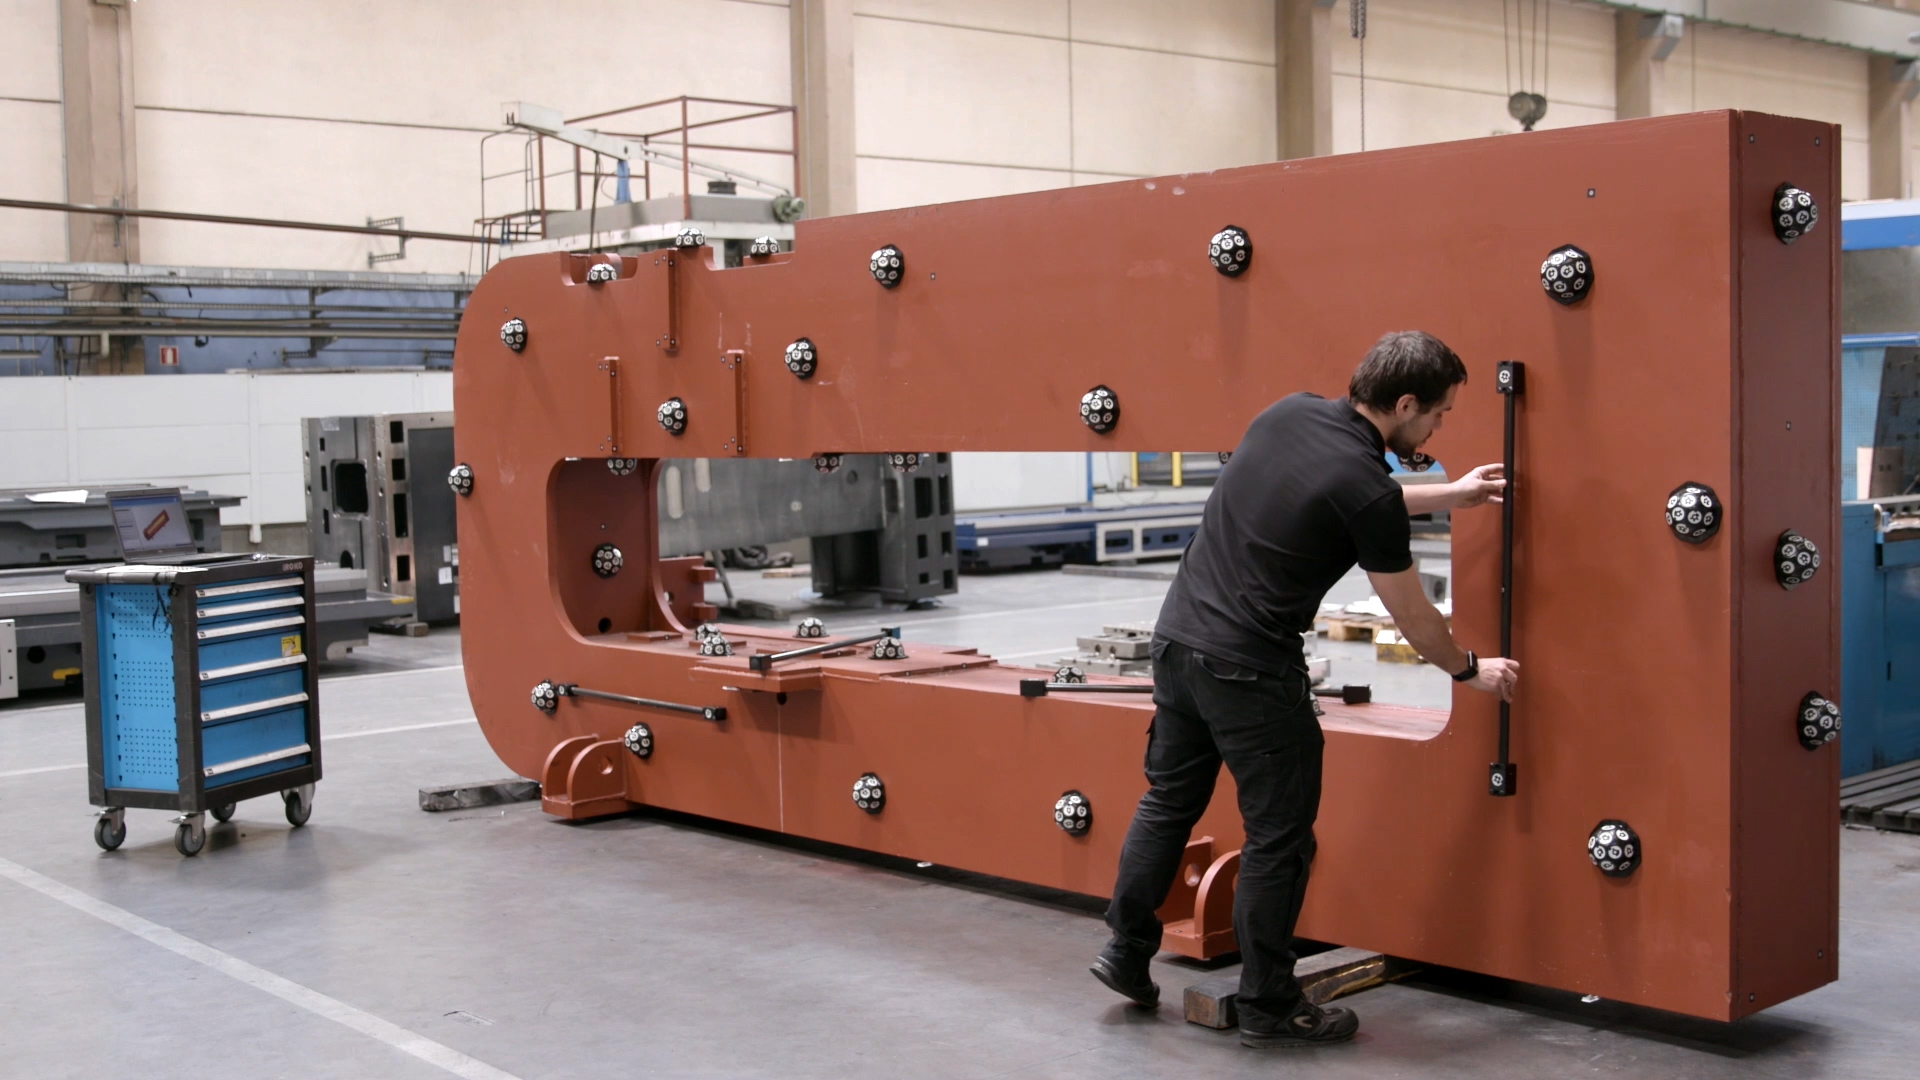
NEW PHOTOGRAMMETRIC MEASUREMENT SYSTEM
CHALLENGE TO FACE
In certain cases, the alignment of an unfinished piece larger than 1 m3 requires much more time for set-up than the actual processing.
Before processing, you must:
Ensure that there is sufficient machining allowance on all surfaces to be processed
Calculate the alignment of the unfinished piece for optimum distribution of the machining allowance
Calculate and position the piece correctly in the machine
SOLUTION
Photogrammetry is a new measurement system based on 3D vision technology, which reduces the calculation time of the best fitting and alignment of the large unfinished piece.
The system is based on photogrammetric technology to measure the piece from different reference points situated on the piece to be processed.
The information generated during the measurement stage is automatically compared with the 3D model of the piece in order to calculate the best fitting.
Once the unfinished piece has been evaluated, it can be aligned in the machine by using the same reference points. The system permits precision of 0.05 mm + 0.02 mm/m.
BENEFITS
- Up to 70% less time taken for alignment, fitting and measurement of the unfinished piece
- Guarantees the quality of the pieces from prior processes such as forging and welding
- Increases machine availability as a result of measurement and fitting outside the machine
- Easy to use: does not require operators specialised in measurements
- Cost-effective process
- Standardisation of alignment processes in the machine
- Quick and simple information available in the machine
- Perfect precision
MODULES
VSET MEAUSURING
Measurement of the geometry of the unfinished piece by means of Photogrammetry
VSET MEAUSURING
The measuring module is mainly made up of a set of optical markers and calibrated bars, a self-calibrating camera for digital photogrammetry and a laptop, all contained in completely safe cases that can be easily used in these industrial environments. The laptop integrates the measurement software, which can configure the set of geometry points of the piece based on the photos that are taken of the piece.
VSET FITTING
Comparison with the final geometry (CAD)
Best fitting of the machining allowance and calculation of the reference points
Generation of information for use of the machine
VSET MEAUSURING
The fitting module is a software development linked to the measuring module, which, based on optimisation algorithms, immediately calculates the 3D fitting of the finished piece, comparing it with the scatter graph that determines the unfinished piece.
The result of this measurement and fitting is a report of references that will enable easy alignment in the machine by means of a probing procedure that is usually already integrated in the machine.
VSET ALIGNMENT
Integration in the machine
VSET MEASURING
This software module enables automatic integration of the results of the fitting module in the machine control and, by means of calculation algorithms, performs an automated and guided process of the alignment process, thereby facilitating and further reducing the time of this stage.


